How to Optimize Scent Diffusion in Open Kitchens
A diffuser that works in a bedroom can vanish in an open kitchen, or turn the whole room into a perfume cloud. The fix is a measured setup: map airflow, match coverage to the floor plan, then tune scent around cooking and HVAC use.
Heat-free cold-air diffusion is a strong fit for open layouts because it adds fragrance without adding heat or water. Follow these steps to build even, quiet coverage without covering up the food.
Step 1: Map Your Kitchen’s Airflow and Scent Zones
To optimize scent diffusion in an open concept kitchen, first mark where air enters, leaves, rises, and stalls. Your diffuser should sit in a shared air path, not inside the strongest exhaust stream.
Draw a quick floor plan. Include the kitchen, dining area, living room, stairs, nearby halls, windows, supply vents, return vents, ceiling fans, and the range hood. Then note the main cooking plume above the cooktop. Warm air rises, while the hood pulls part of that plume away. The rest may drift toward seating or a stairwell.
Watch the room for five minutes with the HVAC running. A light tissue held near a vent can show the direction of supply air. Do not hold it over an active burner. You’re looking for the path that links the kitchen with the living or dining zone.
Mark three zones:
- Source zone:the cooktop and range hood, where food smells begin.
- Shared zone:the island, dining area, or walkway where air mixes.
- Quiet zone:the living area or entry where you want the scent to arrive.
Keep the diffuser out of the hood’s direct pull. That placement can send oil toward the exhaust and waste fragrance before it spreads. Also avoid a spot beside an open window, since a cross-breeze can push scent outside.
For homes with more than one floor, treat the stairwell as its own zone. A single unit may scent the lower floor well while leaving the upper level faint. Our guidance on scent zoning for multi-level houses can help you decide when one source is enough.
Good indoor air work starts with source control and ventilation, not fragrance alone.
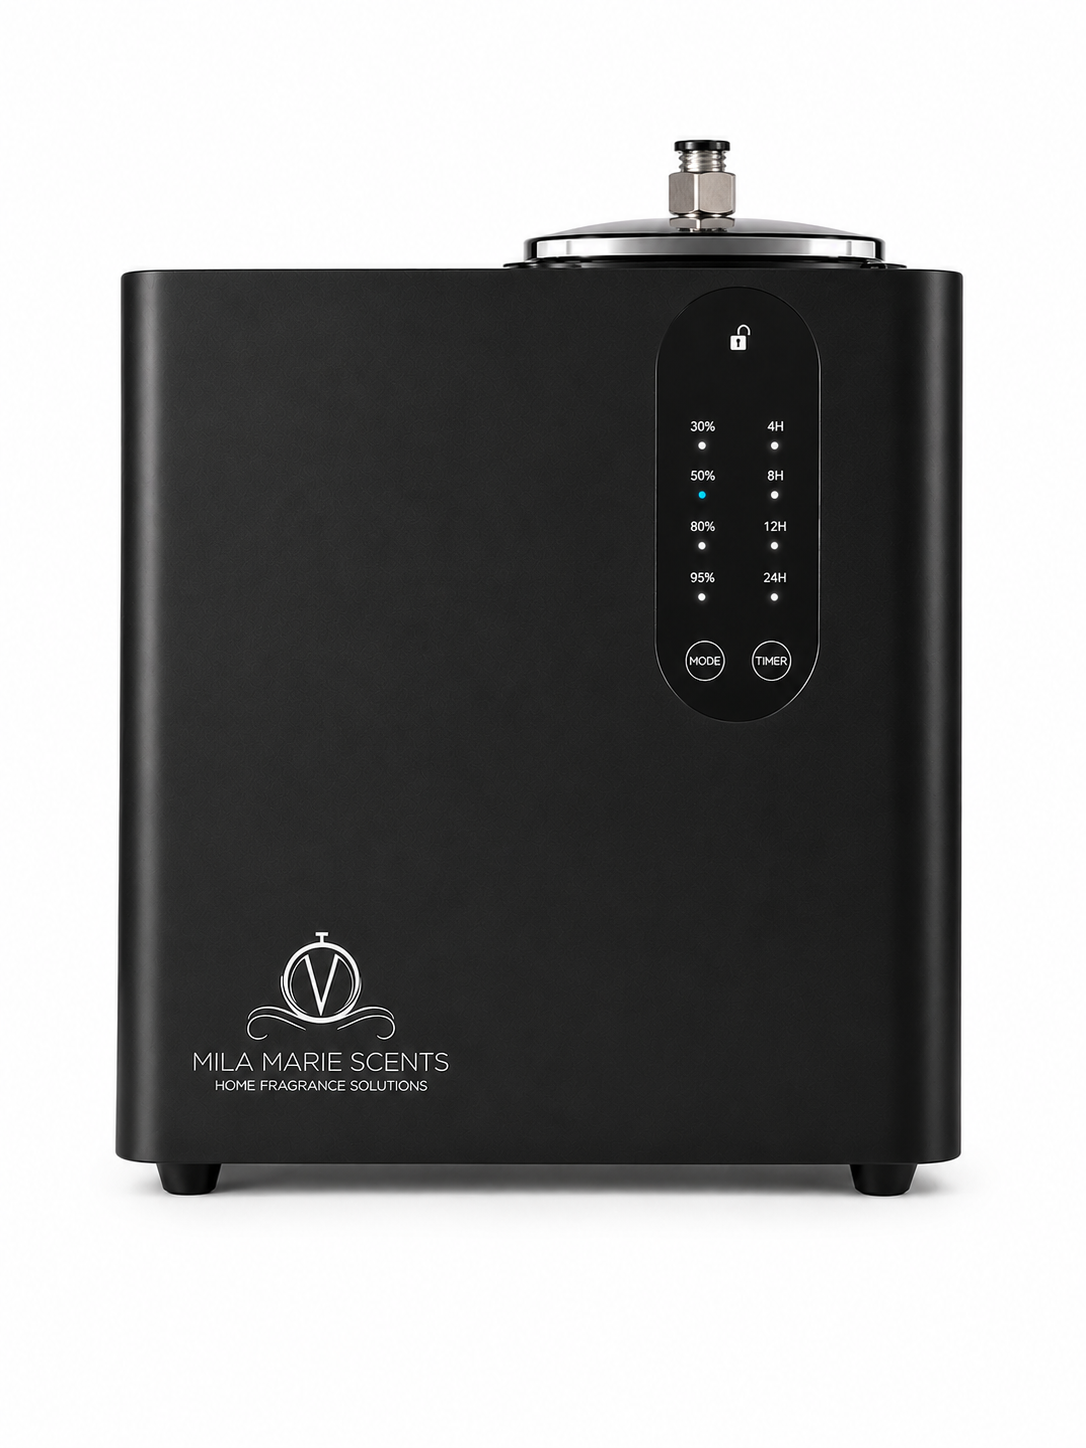
By now you should have:a floor plan with one safe shared zone, one exhaust path to avoid, and a clear view of where scent needs to travel.
Step 2: Choose the Right Cold-Air Diffuser for Your Floor Plan
Choose a cold-air diffuser by total connected square footage, then account for ceiling height and strong air movement. A kitchen area alone is a poor sizing target when the room opens into living space.
Add the kitchen, dining, and living areas that share air. For example, a 250-square-foot kitchen beside a 450-square-foot living room needs coverage for roughly 700 square feet, not 250. High ceilings, open stairwells, and large windows may call for more reach or a second zone.
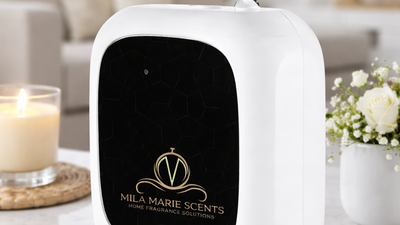
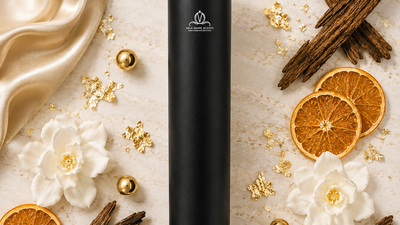
Mila Marie Scents has several names that fit different layouts. The ECHO Mini is listed for spaces up to 700 square feet. INFINITY is the large-format choice, with coverage listed up to 16,000 square feet. That reach is far above the 6,000-square-foot figure listed for the largest competing cold-air unit.
Use the following table as a sizing check. It compares reported coverage or method, not overall quality. A larger number does not mean you should run a diffuser at full output.
If your floor plan falls near the edge of a unit’s rating, begin with one diffuser in the shared zone. Add a second only after you test the first. Two low-output sources usually feel more polished than one source pushed too hard.
For a broad HVAC-connected layout, review the Mila Marie Scents HVAC diffuser collection and match the unit to the air handler and zone size.
By now you should have:one coverage target based on connected rooms, plus a diffuser size that leaves room for adjustment.
Step 3: Place the Diffuser for Even Coverage Without Overpowering Food Aromas
The best diffuser position is usually central to the open plan, several feet away from the cooktop and dining seats. This lets scent join the room’s natural airflow without competing with food at close range.
Set a freestanding unit on a stable console, shelf, or side table between the kitchen and living area. A kitchen island can work if the diffuser sits well away from the range, sink spray, and the main prep surface. Keep it at a height where the mist can enter the room freely.
Do not place it directly beside a supply vent, return vent, extractor fan, or open window. Strong airflow may carry scent too fast, push it into one corner, or increase oil use without giving even coverage.
Dining distance matters. A scent that feels balanced across the room may feel too strong beside a plate. Keep the diffuser away from the center of the table and from the seats where guests spend the most time.
Test the position during two different conditions. First, run the HVAC with no cooking. Then repeat while the range hood runs. Walk from the entry to the living area and back. Notice where the scent first appears, where it fades, and whether the kitchen becomes stronger than the rest of the room.
A diffuser near a doorway can spread scent into two connected areas, but it may also send fragrance down a hall. If that happens, shift it toward the center of the shared zone by a few feet and retest.
For a more detailed setting plan, use these scent intensity settings for open plan lofts as a starting point, then tune them to your own airflow.
By now you should have:a central placement that reaches the living area without putting fragrance over the cooktop or directly beside the food.
Step 4: Select a Fragrance Profile That Works With Cooking Scents
Choose a clean, restrained fragrance profile for an open kitchen. Fresh tea, light citrus, and soft woods usually blend more easily with cooking aromas than heavy sweet or smoky notes.
Think about the menu you cook most often. Bright citrus can suit vegetables, seafood, and daytime use. Tea notes can give the room a clean baseline without demanding attention. Soft woods may sit well beside roasted foods, but a very dense wood or musk can make the room feel heavy.
Mila Marie Scents names several profiles for this kind of testing, including White Tea, Luxuré Harmony, and Velora Woods. Start with one oil. Let it run at low intensity for a short test period before you judge the scent across the whole floor plan.
Don’t try to erase cooking smells with a stronger fragrance. The range hood should handle smoke, grease, and the main odor source. Fragrance belongs in the background. If guests can identify the oil before they notice the room, the setting may be too high.
When you want to mix and match fragrance oils, smell the blend outside the diffuser first. Put a small amount of each oil on a scent strip or dish. Let the combination sit briefly, then decide if one note clearly leads. Equal parts can produce a muddled result.
For a more useful kitchen blend, keep one profile dominant and use the second as a light accent. Stay within nearby scent families. A fresh tea with a light citrus note is easier to control than two strong base notes competing in one reservoir.
The same rule applies when you host dinner. Keep fragrance away from the table and choose a lower output before guests arrive. You want the room to feel cared for, not scented for its own sake. Our guide to fragrance oil blends for cold-air diffusers gives more direction on testing and blend ratios.

Use the Scent Sample Pack from Mila Marie Scents if you want to try before you buy home fragrance. Testing in the actual kitchen is more useful than judging a scent in a small shop or bedroom.
By now you should have:one main fragrance profile, one optional accent, and a clear limit that keeps food aromas in focus.
Step 5: Calibrate Scent Intensity, Schedule, and HVAC Runtime
Set scent intensity low at first, then adjust one control at a time. The right schedule depends on room size, airflow, cooking habits, and how long people occupy the space.
Start with the lowest setting for a compact open plan. For a larger connected area, move to a middle setting only after you’ve walked through the room several times. Wait before making another change. Your nose adapts quickly, so an immediate increase can lead to over-scenting.
Use an intermittent schedule rather than running the diffuser without pause. A simple test cycle is 20 minutes on followed by 40 minutes off. If the scent fades too much, shorten the off period. If the room feels perfumed, lengthen it.
Match the schedule to the day:
- Morning:use a short cycle before the kitchen becomes busy.
- Cooking:reduce or pause diffusion while strong food aromas are active.
- After cooking:let ventilation clear the room before restarting scent.
- Evening:use a lower cycle if the family stays near the diffuser.
HVAC runtime changes scent travel. When the system fan runs, fragrance may reach more rooms. When it stops, scent may stay near the diffuser. If PULSE or INFINITY connects to HVAC, test the diffuser while the air handler runs in its usual mode.
Keep a simple note for three days. Record the setting, schedule, HVAC state, and how the room feels after 30 minutes. This removes guesswork and shows whether the problem is output or placement.
A polished room often smells quieter than expected. Aim for a steady impression at the entry, not a strong burst beside the diffuser.
Step 6: Reduce Competing Odors and Maintain the Diffusion System
Control the odor source before increasing fragrance. Run the range hood during cooking, clear food waste promptly, and keep filters clean so the diffuser doesn’t have to cover stale air.
Check the hood’s capture area and airflow. If smoke escapes the hood, scent will not solve the problem. The same goes for damp towels, full trash bins, and grease on nearby surfaces. Remove those sources first.
Clean the diffuser nozzle on a fixed schedule. Oil residue can restrict the mist path and make output less even. The right interval depends on use. Daily users may need more frequent cleaning than someone who runs the unit for a few hours each week.
Before changing oils, empty the reservoir and clean the nozzle according to the model instructions. This reduces scent carryover. Mila Marie Scents provides a detailed cold-air diffuser nozzle cleaning routine, including different care points for standalone and HVAC-connected units.
Do not spray household cleaner into the diffuser. Keep the unit dry on the outside and check that its oil connection is snug. If output drops, first check the oil level, nozzle, and connection before raising the intensity.
Pets and children need extra care. Keep the unit where it cannot be knocked over, and follow the oil maker’s safety directions. If anyone in the home reacts to fragrance, pause use and improve ventilation rather than testing a stronger scent.
Maintenance is easy to ignore because the room may still smell pleasant. A clogged nozzle changes the output slowly. Put cleaning on the same calendar as other home tasks.
Step 7: Test, Adjust, and Expand Coverage Safely for Families and Pets
Test one zone for several days before expanding coverage. This shows whether the first diffuser is correctly placed and keeps you from adding scent faster than your household can assess it.
Use a simple scorecard. Check the entry, kitchen, dining area, living room, and nearby hall at the same times each day. Give each spot a plain rating such as faint, balanced, or strong. Also note whether cooking was active and whether the HVAC was running.
Make one change after the test:
- Move the diffuser if one corner is strong and another is empty.
- Lower output if the kitchen smell becomes flat or hard to notice.
- Change the schedule if scent builds up during quiet periods.
- Add a second zone only when the first unit cannot reach a separate area.
For families, test when children are present and active. A scent that feels light in the morning may feel stronger after several hours indoors. Keep the diffuser out of reach and avoid placing it beside a pet bed, food bowl, or crate.
For pets or sensitive household members, start with the shortest schedule and the lowest intensity. Stop if anyone shows discomfort. A pleasant home scent is optional. Clean air and comfort come first.
Large spaces may need zoning rather than more output. Mila Marie Scents offers smaller named options such as Elite Mini Pro for targeted areas, while Elite Car Pro is designed for vehicle use rather than an open kitchen. Use the model that matches the space instead of treating every diffuser as interchangeable.
After a week, choose one of three outcomes: keep the setup, move the unit, or split the floor plan into two lower-output zones. That decision is more reliable than judging the room from one quick smell at the diffuser.
Frequently Asked Questions
What is a heat free cold air diffuser?
A heat free cold air diffuser spreads fragrance oil without heating water or the oil itself. That makes it useful for open kitchens, where ovens and burners already add heat. To optimize scent diffusion in an open concept kitchen, pair the diffuser with good ventilation and keep it away from the range hood’s direct pull.
Where should I place a diffuser in an open concept kitchen?
Place it in a central shared zone between the kitchen and living area, several feet from the cooktop and dining seats. Avoid direct placement beside a supply vent, return vent, window, or extractor fan. Walk the room after setup. If one corner is strong, shift the diffuser toward the middle.
How strong should a kitchen diffuser be?
Start at the lowest setting and use an intermittent schedule. Raise output only after the scent fades before it reaches the living area. A kitchen diffuser should sit behind the food aroma, not cover it. Pause or reduce diffusion during strong cooking, then restart after the hood has cleared the room.
Can I mix and match fragrance oils in a cold-air diffuser?
Yes, but test the oils together outside the diffuser first. Keep one oil dominant instead of using equal parts, since balanced amounts can produce a muddy scent. Choose related profiles, such as tea with light citrus. Clean the reservoir and nozzle before changing blends to limit scent carryover.
How can I try before I buy home fragrance?
You can try before you buy home fragrance by using a sample pack and testing each scent in the actual room. Mila Marie Scents lists a luxury fragrance oil sample pack with multiple oils. Smell the options at the time you usually cook, since heat, food, and HVAC airflow change how each profile feels.
Conclusion
Start with one central diffuser, a low setting, and a clean fragrance profile such as White Tea. Map the airflow first, then run a three-day test before changing placement or adding another zone. For a connected home that needs broad, quiet coverage, review Mila Marie Scents options such as ECHO Mini, PULSE, or INFINITY and match the unit to your measured floor plan.
Best-selling diffusers & fragrances for your home
Which Diffuser Is Right for You?
| Feature | INFINITY | HALO Tower |
|---|---|---|
| Price | $449.00 | $229.00 |
| Coverage | Up to 16,000 sq ft | Up to 4,000 sq ft |
| Type | HVAC / Whole-Home | Floor Standing |
| App Control | Yes (Bluetooth) | Yes (Bluetooth) |
| Free Oils Included | Yes (3 Oils) | Yes (3 Oils) |
| Warranty | 1-Year | 1-Year |
| Guarantee | 30-Day | 30-Day |
Swipe to compare →
Get 15% Off Your First Order
Join the Mila Marie family for early access to new fragrances, exclusive offers, and expert scenting tips.